What Accessories do I Need for my Seestar S50/S30?

None.

OK, maybe one. Or two. But that’s it.

Here’s a rundown of Seestar accessories and whether or not they’re useful.

External Battery

I don’t consider this an optional accessory. If you’re going to use the Seestar continuously for more than 3-4 hours on a full charge, you’re going to need some kind of external power source. I use a Jackery 300 that will run it for 2-3 nights. Others use 10-30 watt-hour power banks. Whatever you’ve got will work.

The Seestar always draws from external sources first. So it will be charging its internal battery and running from your external battery or power supply until that power is exhausted, then it will switch to internal. Remember the internal battery will not charge when the temperature is below 32F/0C, though you may find that yours stops charging when the temperature gets below about 50F/10C.

Eq Wedge

You aren’t required to use your Seestar in equatorial mode, but if you do, you’ll need a wedge. I don’t consider this an “accessory” per se, as it is an essential part of imaging in eq mode. So it isn’t quite on point for our discussion here.

By the way, the Seestar wedge is very good; the Williams Optics wedge is perhaps the best; and the Sky-Watcher wedge is “good enough”.

While we’re talking about wedges, I’d be remiss if I didn’t bring up the Peterson Engineering balance arm and and eq mounts. The balance arm offsets the eq wedge so that the center of gravity of your Seestar remains centered above the tripod, making it more stable. The Peterson Engineering eq mounts are customized to your location and eliminate the need to adjust the angle of the wedge while also adjusting azimuth.

If you’re using an eq wedge, strongly consider the balance arm. And if you haven’t purchased a wedge yet, strongly consider their eq mount.

Tripod

The S50 comes with an excellent tripod. It’s sturdy, portable, and low to the ground. The simple fact of its short legs make it more stable than some more expensive, taller tripods. And you need something stable, especially in eq mode. The S50 tripod is absolutely perfect.

The S30 has a less stable set of plastic legs. They work perfectly well in alt-az mode on a solid surface, but if you’re operating in eq mode you’ll need a real tripod. Consider Apertura’s $100 carbon fiber tripod made especially for the S30.

Leveler

A lot of people choose to add a leveler between the Seestar and their tripod. It makes it easier to make fine adjustments to get the Seestar precisely level. I’ve found that the Seestar’s inclinometer isn’t as stable and sensitive as any leveler I’ve used, and I can get good-enough results by making minor adjustments to the lengths of the legs.

If your tripod is right on the verge of being stable due to the height and weight of the Seestar, especially when it’s windy, then a leveler adds to the problem by raising the Seestar another inch or two from the mount. I found after a few nights of using a leveler that I just stopped using it. Instead, I set my tripod legs so that when I set the tripod down in the same spot it was always setting on my sidewalk, it would be level. Then I just skipped calibration altogether.

Bahtinov Mask

A Bahtinov mask is a device that fits over the objective end of your telescope and adds spikes to stars to make it easier to focus. These are from the old days of manual focus. Your Seestar has an auto-focus function that uses the power of math and science to find the perfect focus. You don’t need to ever manually focus.

Diffraction Spikes Mask

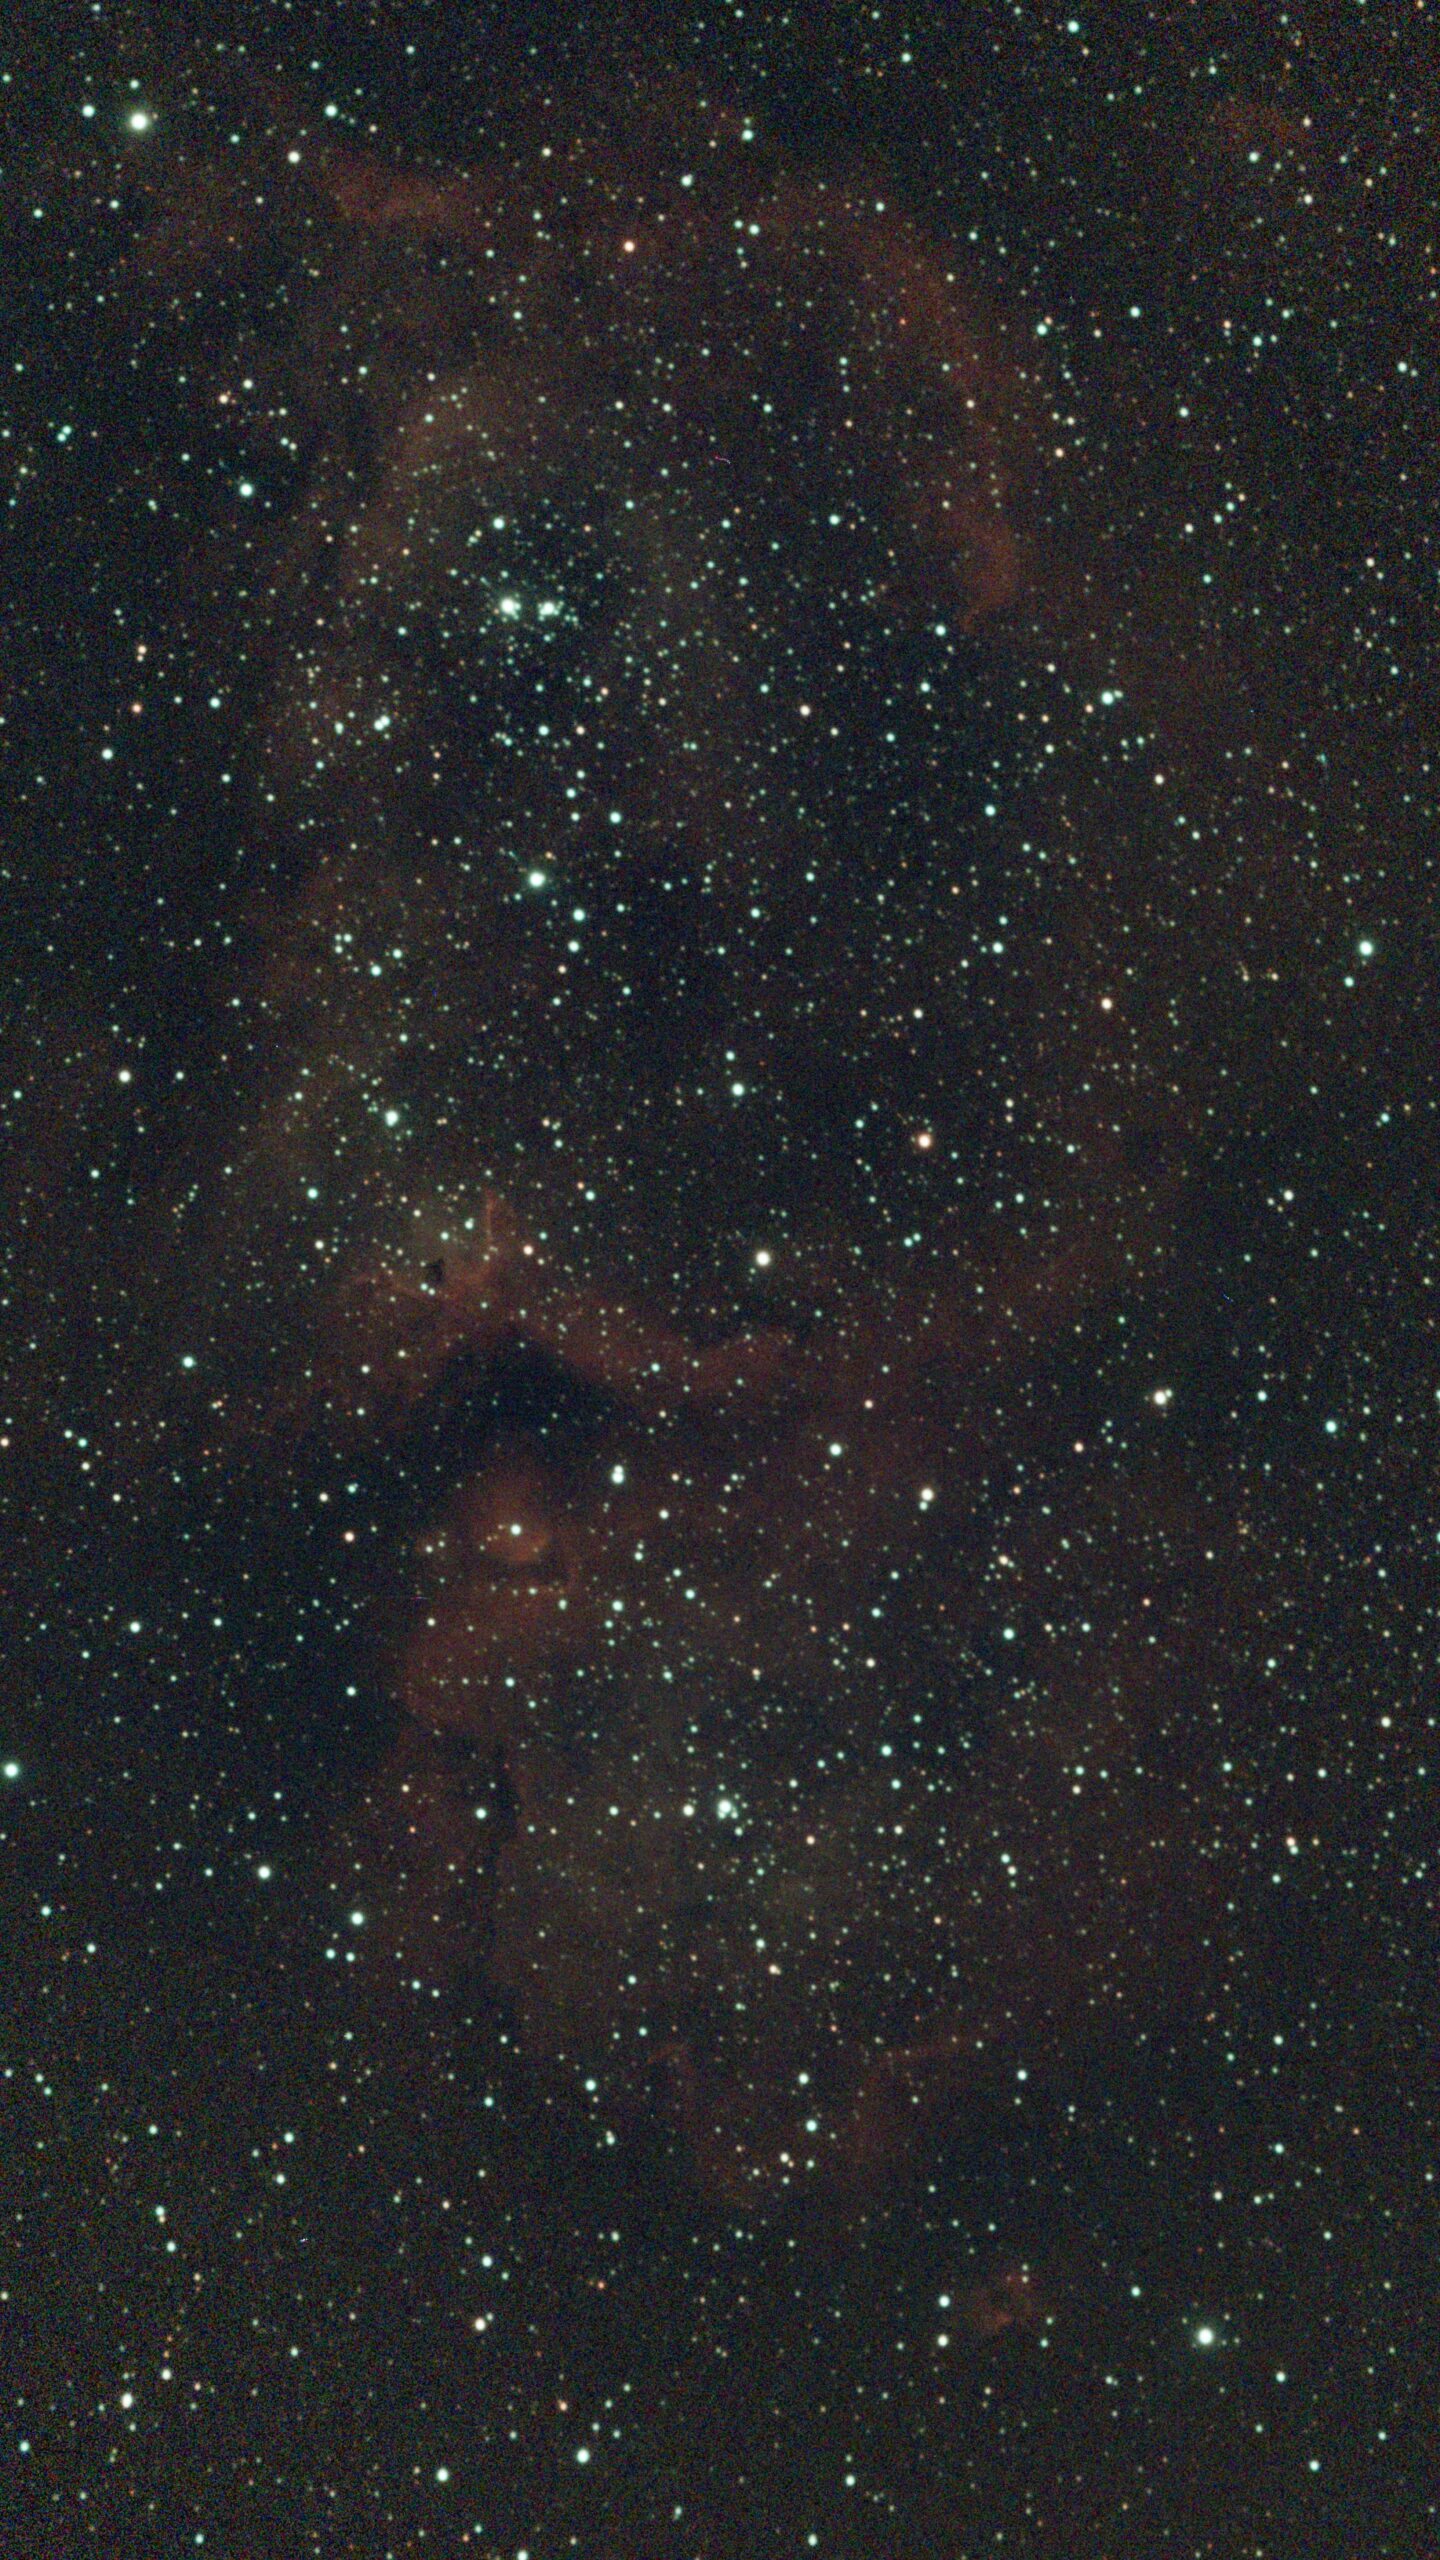
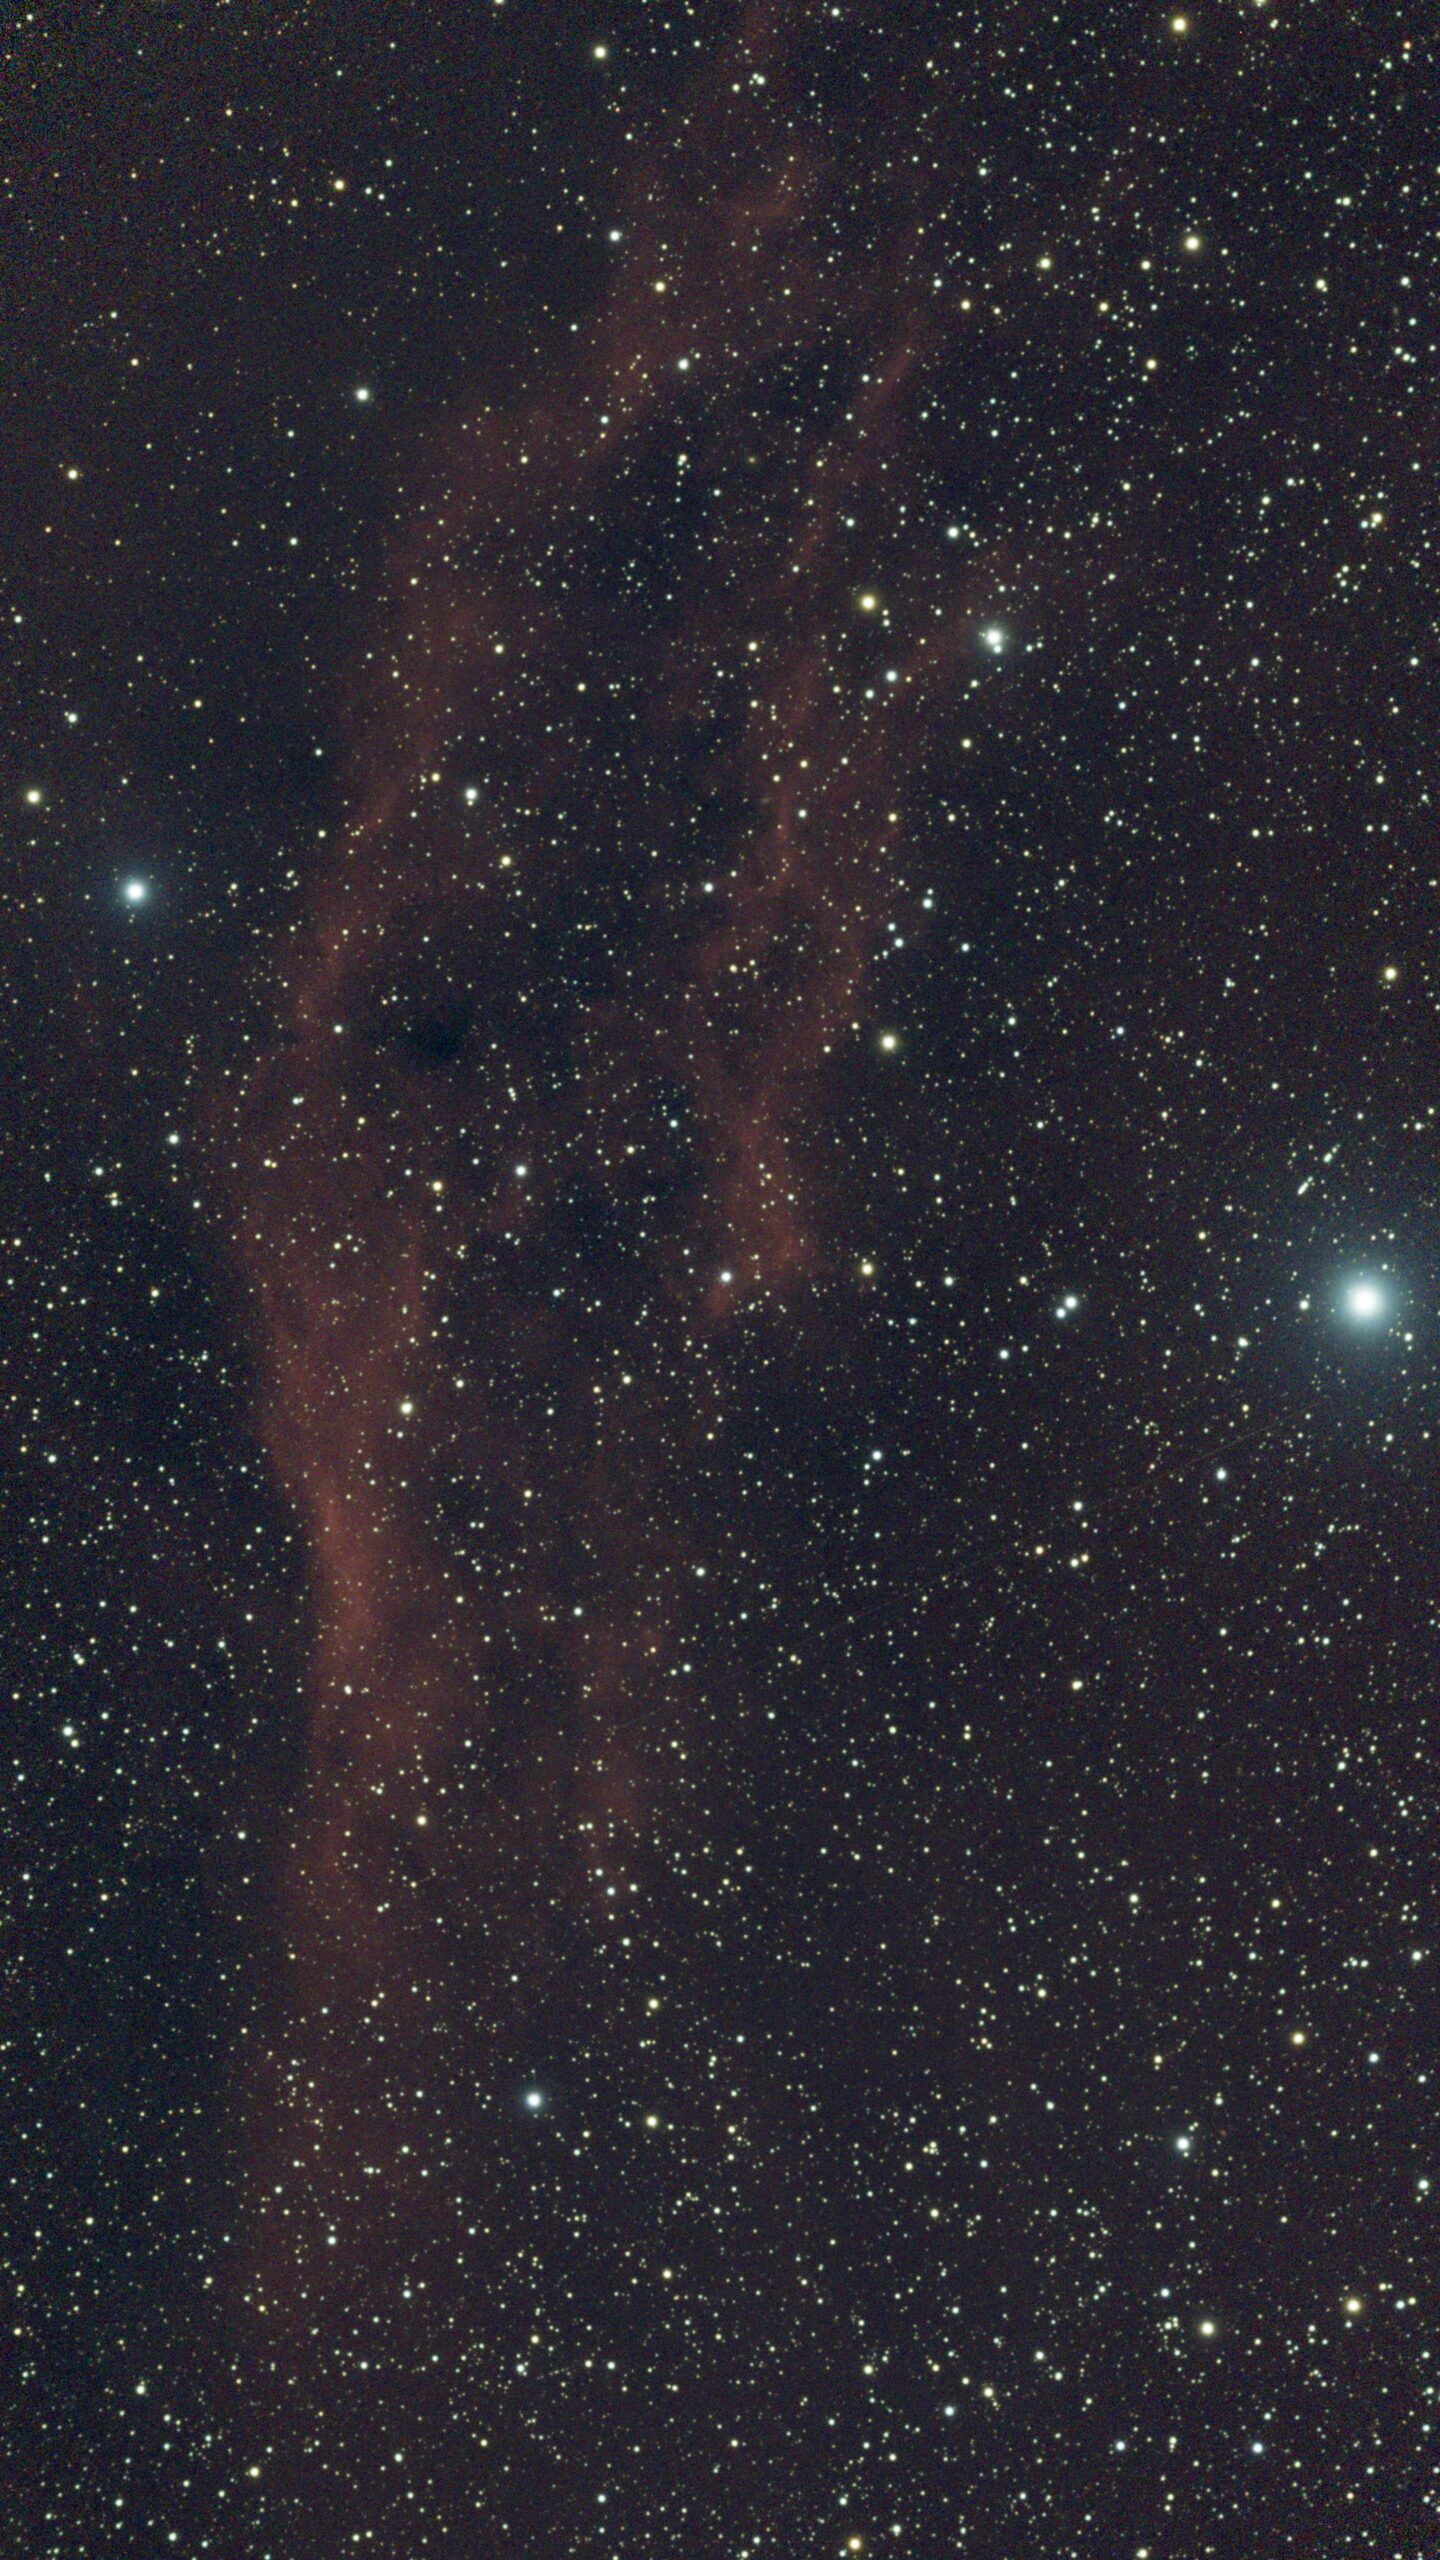
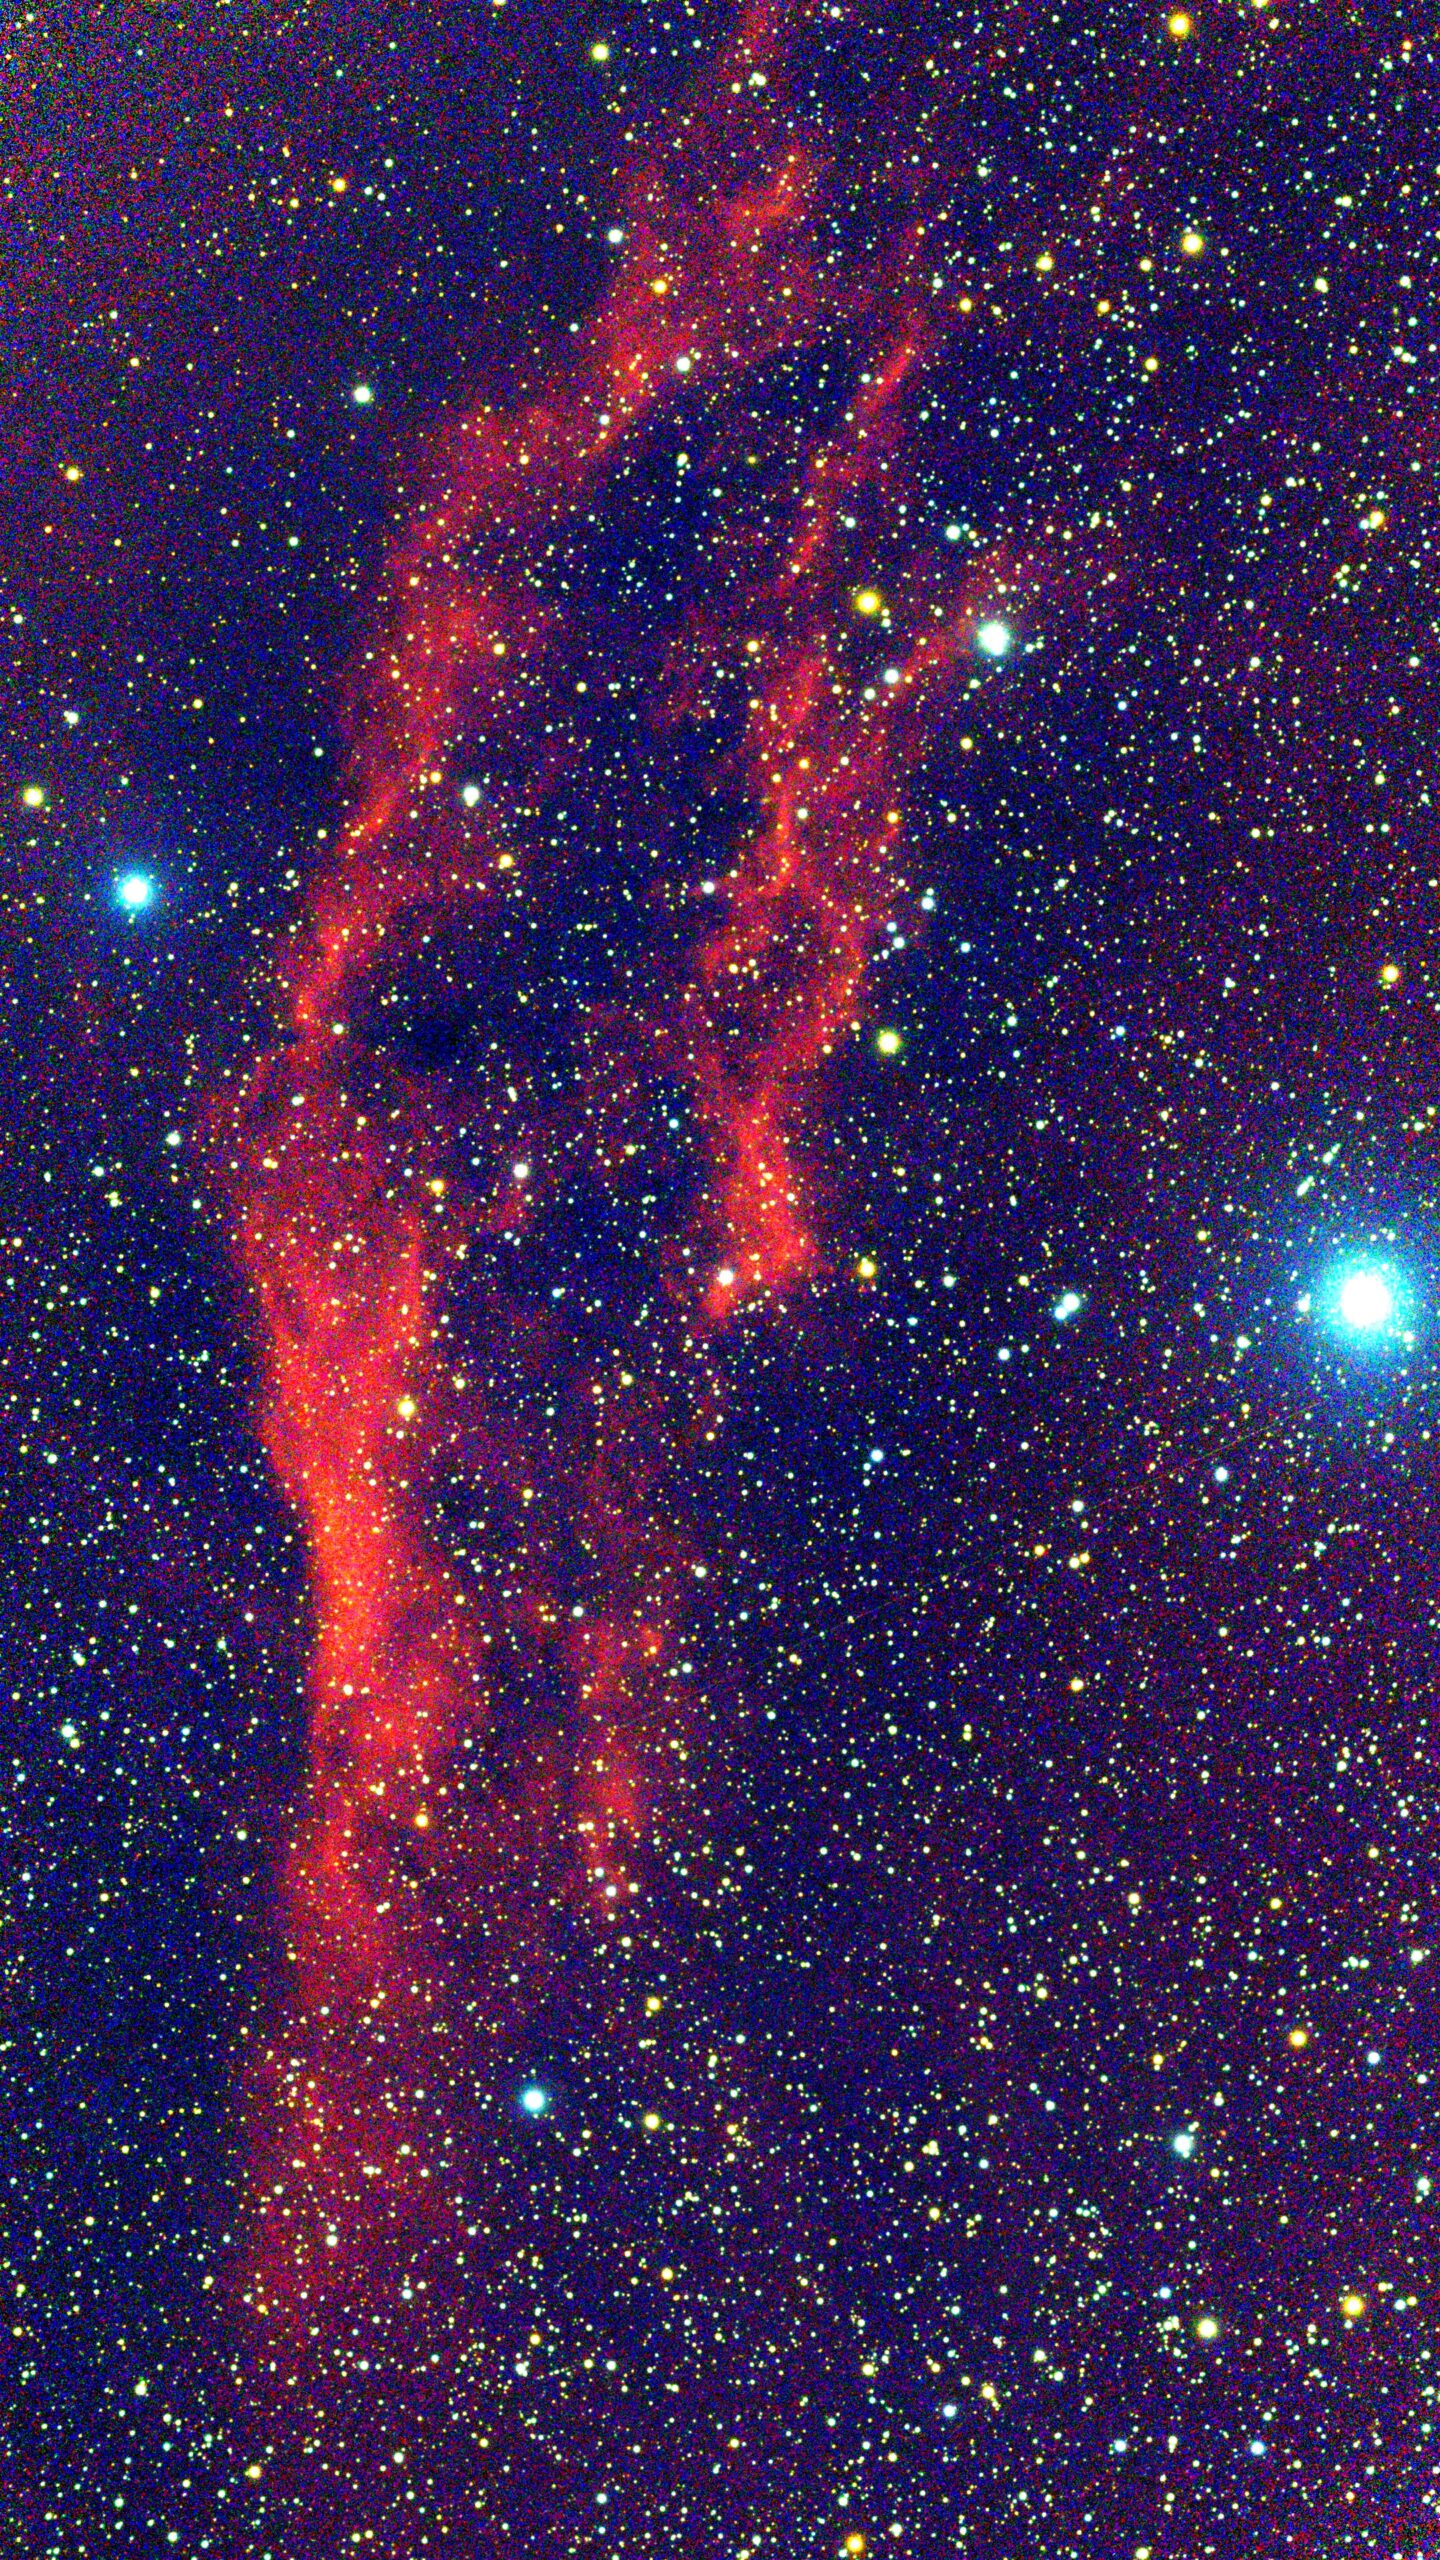
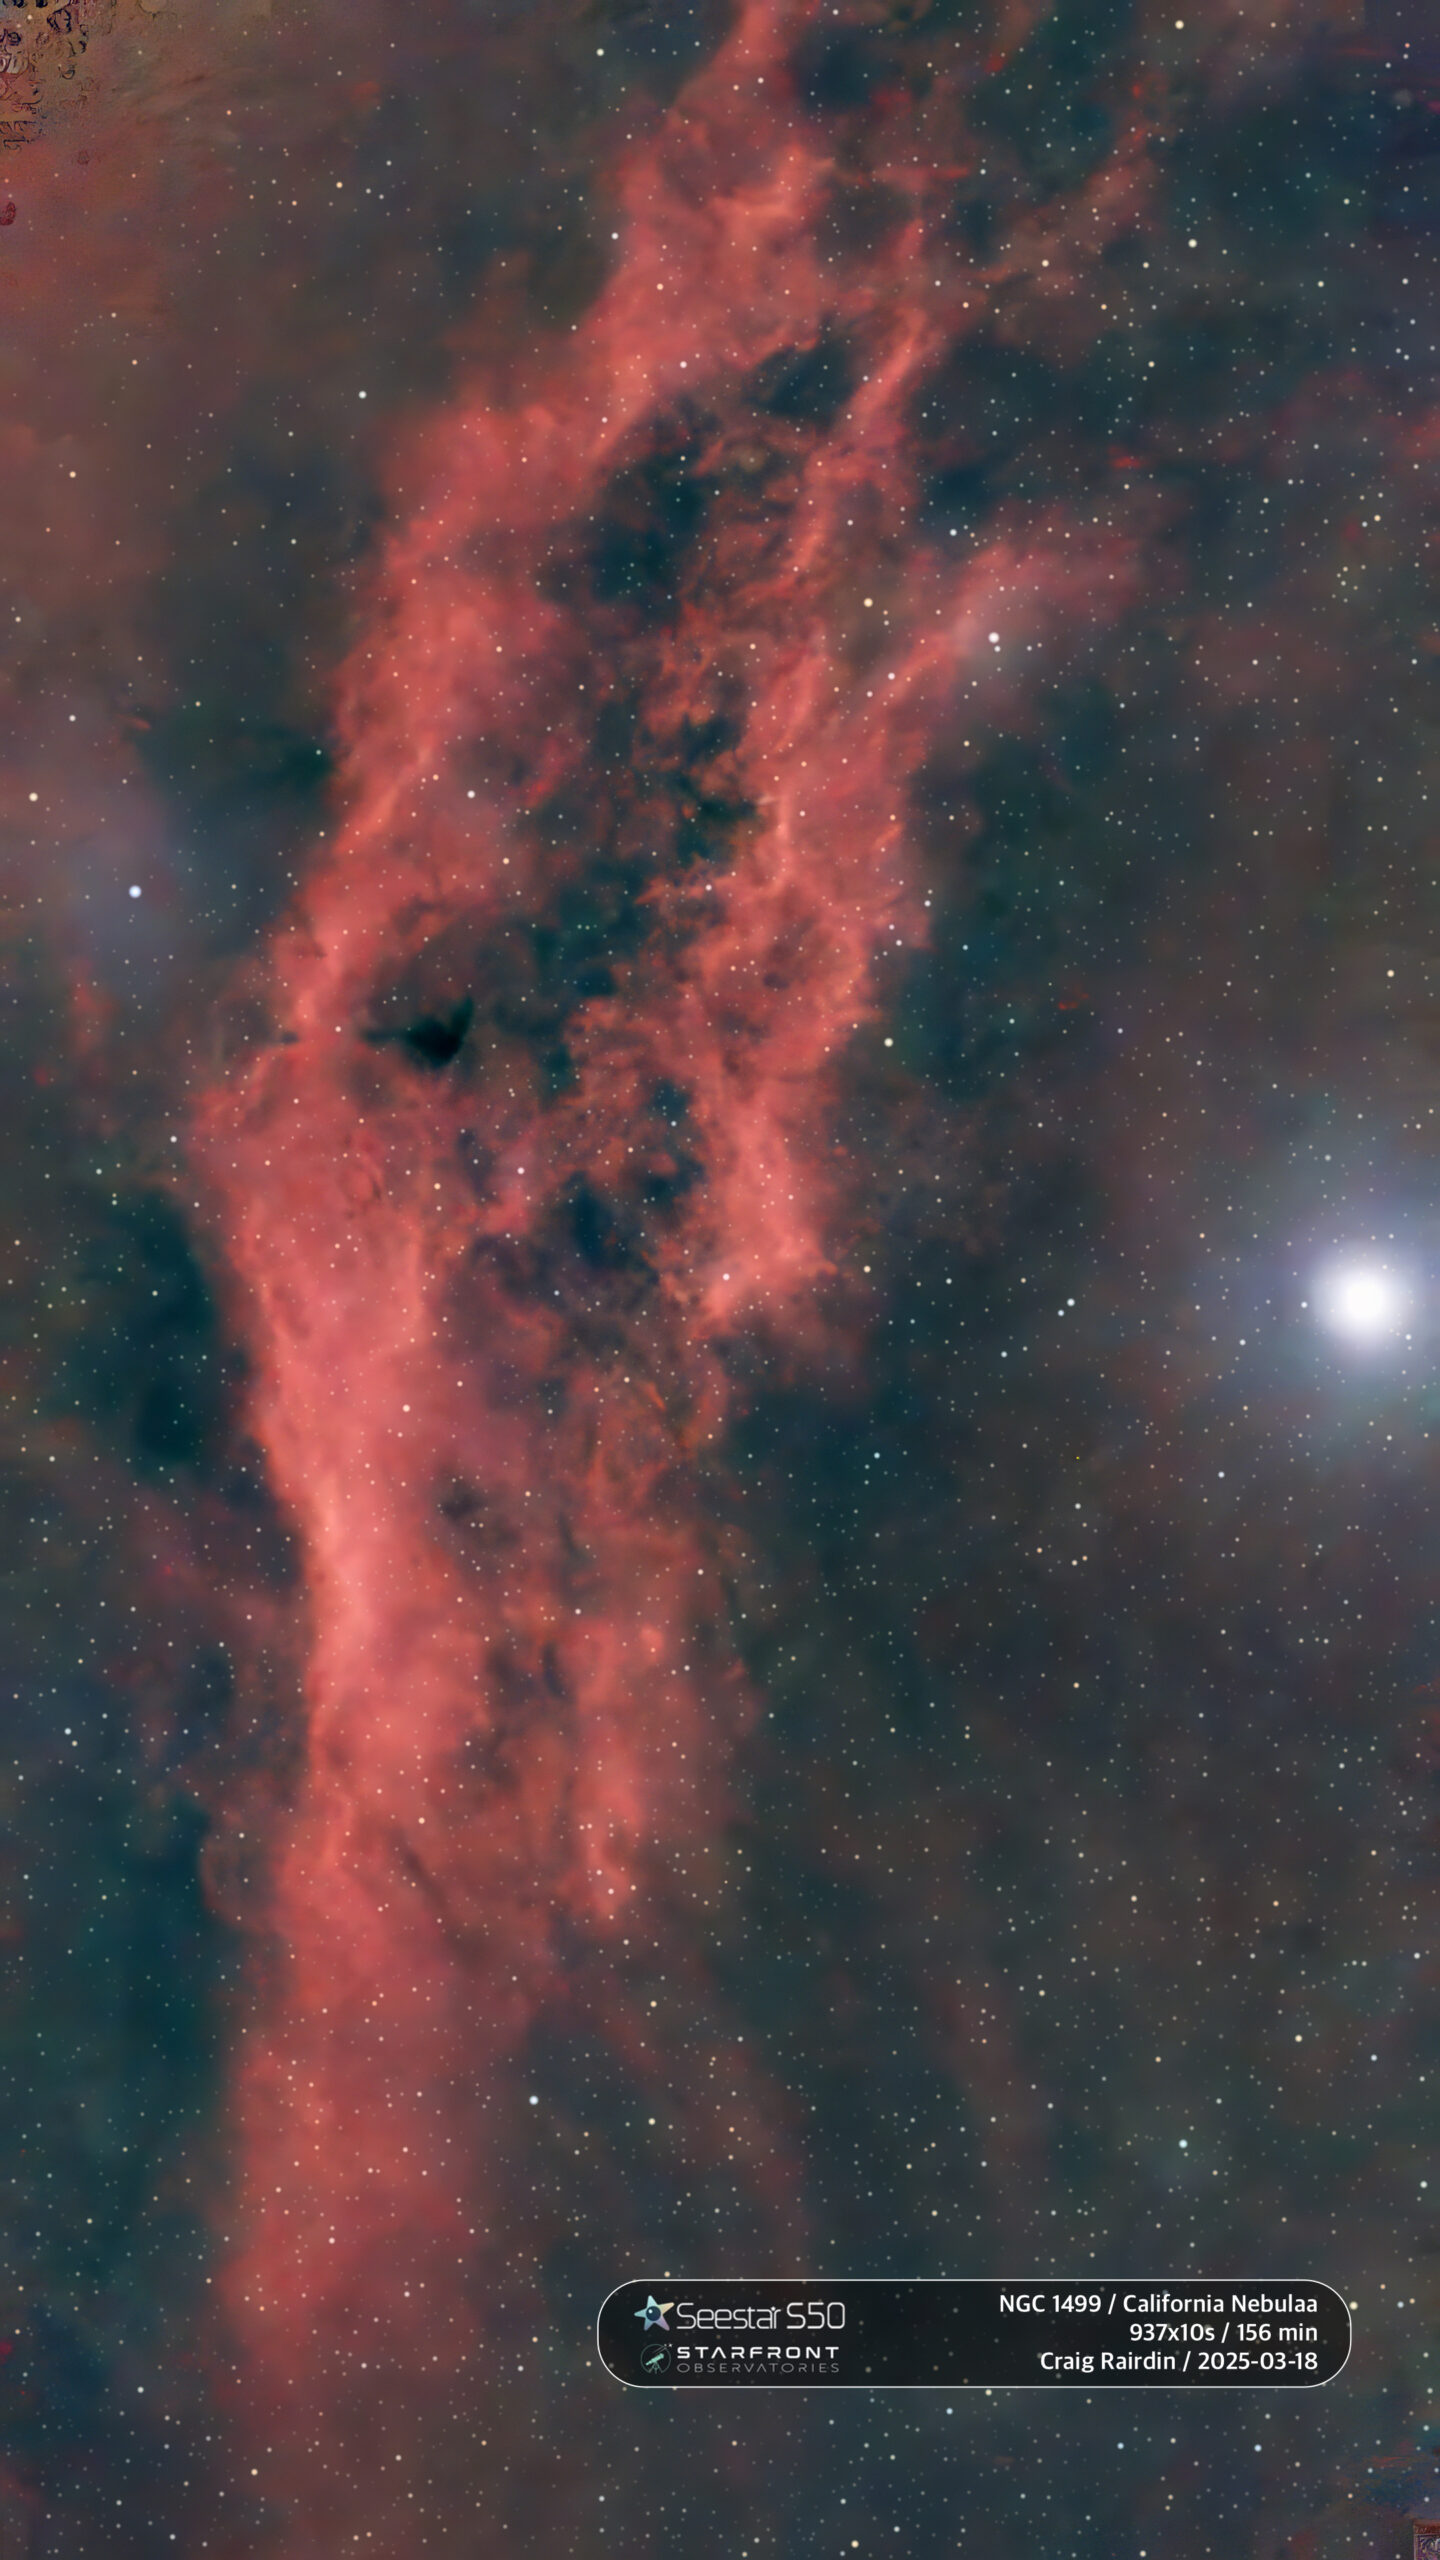
One of the benefits of a refractor (like your Seestar) is that it does not generate “spikes” on your stars. Those are an artifact of the way reflector telescopes work. They have a mirror mounted out on the business end of the telescope, and it is held in place by four or more arms that form an X on the end of the scope. These diffract the light and cause those spikes you see extending from stars in children’s books.

Diffraction spikes are not natural, and in fact are a down-side of using a reflector-style optical design. You paid good money for a refractor, don’t ruin it by distorting all the images you capture with it.

Stars in the sky don’t have spikes. The stars in your images shouldn’t, either.

Lens Cap

Your Seestar lens is protected when the arm is in its closed position. You do not need a lens cap.

External Filter Mount and Filters

The Seestars come with all the filters they need. They have a UV/IR cut filter for broadband imaging and a dual narrowband filter for emission nebulae. If you add an external filter you would want to turn off all the filters in the Seestar itself, and there’s not a way to do that. Stacking filters isn’t a good idea in general, and it’s especially not a good idea in a system where you don’t have full control over the light path.

Dew Shield

A dew shield is like a toilet paper tube that is placed on the objective lens of the Seestar. It hides the lens from the heat-sucking effects of the open sky and helps prevent dew formation. It has a secondary benefit of shading the lens from any nearby bright light sources.

The Seestar has a good dew heater, making the dew-prevention aspect of a dew shield unnecessary. But if you have a nearby street light or porch light that you can’t protect the Seestar from, you might benefit from a dew shield for that purpose.

When using an external dew shield, make sure it either is loose enough to detach when the arm closes or you’re standing right there to remove it before closing the arm. Otherwise you will hear an awful noise as the internal gears shred themselves trying to close the arm.

I have the luxury of my observing spot being in the shadow of a tree that blocks the street light near my house (and also blocks a good piece of the northern sky, thank you very much), so I’ve never bothered with a dew shield.

TL;DR

If you use an eq wedge, consider the balance arm (or eq mounts) from Peterson Engineering.

If you have unwanted bright light sources nearby, consider a dew shield to shade your lens.

How to Deploy a Seestar S30/S50 at Starfront Observatories

The Basics

While there are a few different ways to configure a Seestar system for Starfront, most are running the iPad version of the Seestar app on an M-series Mac mini and using that to control the Seestar. iPad apps run like native apps on the newer Macs with the M1, M2, or M4 chips. The Mac will talk to your Seestar via WiFi and will be connected to the Starfront network via a 30′ Ethernet cable, which you will need to send with your equipment. You will log into the Mac remotely using AnyDesk or Chrome Remote Desktop, both of which are free. AnyDesk does a better job of interacting with macOS. So you will be sitting at home running the remote Mac as if it were at your house, and the Seestar will be talking to (what it believes is) a local iPad, from which it will get the current time and location.

What Else Do I Need

The other components of the system are a Kasa WiFi power strip into which you’ll plug your Seestar and your Mac. You’ll be able to turn the power off to each device using an app on your phone from home. You’ll need a charger brick for your Seestar and a 6′ USB cable to run from the charger to the Seestar.

You’ll want to send a leveler device for alt-az mode or a eq wedge for eq mode. Only certain wedges are approved for use on the Seestar Bar. Last I heard this list included only the Sky-Watcher and Williams Optics wedges. There are others that would probably work; check with Starfront.

Optional Components

  1. A pier camera and mount, available from Starfront for about $245 installed. This gives you a view of the orientation of your Seestar and a bit of the sky.
  2. A SwitchBot remote button-pusher for turning the Seestar off and on remotely.

System Configuration

It’s best to assemble everything at home and test it all to make sure it’s working. Then box it up carefully and send it to Starfront. It’s better if you bubble-wrap all the components and box them in other boxes rather than the original product packaging, so that you don’t have to pay to have your packaging returned to you. Box it up, weigh it, then go to https://pirateship.com for discount shipping labels.

You can also arrange to drop off your equipment instead of shipping it. You won’t be allowed to set it up at the observatory, but you can drop it off and get a brief tour. This all has to be arranged in advance — don’t just show up.

Further Info

From the Starfront unofficial wiki:

Seestar Integration Time vs. Clock Time

There’s been some confusion about the meaning of the timestamp in the upper right corner of the Seestar app’s live-stacking screen.

For this discussion let’s assume you’re capturing 10-second exposures.

The Seestar evaluates each exposure, looking for stars it recognizes and making sure there are no star trails, airplanes, satellites, or other abnormalities. If it likes what it sees, it adds that exposure to the finished image. Technically, this is called “live stacking”. Seestar calls it “enhancing”. As each exposure is added to the finished image, 10 seconds are added to the time in the upper right. This is called “integration time” — it’s exposure time multiplied by the number of exposures.

There is a pause of about 1.5 seconds between exposures, so you won’t get 6 10-second exposures per minute of clock time. It’s also the case that the Seestar seems to not even try to accept every image it shoots — more like 1 every 3 at times. I haven’t figured out the pattern for this.

I’ve found if I have ideal conditions (including targeting an object whose path across the sky gives me minimal field rotation in 10 seconds), I get around 4 minutes of images for 5 minutes of clock time. But that’s ideal. Normal for me under Bortle 1 sky (very dark, high-quality seeing) is about 1.5-2 minutes of integration time per 5 minutes of clock time. So in an hour I might get 25 minutes of integration time. Over the course of 6-8 hours, as an object traverses the entire sky — including crossing the meridian at high altitude where there is a lot of field rotation — I’ll get anywhere from 1-2 hours of integration time.

I just processed 2 projects that each had 11 nights of data. The first had about 72 hours of total clock time and about 7 hours and 40 minutes of integration time. The other was the same 11 nights but only about 24 hours of total clock time. It’s path was “flatter” across the sky during those hours. In that case I got over 11 hours of integration time.

These are my experiences and might be dependent on conditions where I am and on my particular Seestar. It might also depend on whether I’m doing a mosaic or not (that is, framing is set to something other than 1.0).

Astro Image Processing Workflow

I get asked about this a lot. This is my current workflow. I’ll try to keep it up-to-date but this should at least be close.

Disclaimer: I’m not an expert at this. I’ve just spent a few more hours watching YouTube videos and experimenting than you have.

Why Take the Time to Learn?

Here’s an example of why you should learn to process your Seestar images in something more than a photo editor (Lightroom, Photoshop, GIMP, Acorn, etc.). The first image is right off the Seestar. A lot of people would bring this into an image editor and crank up saturation, brightness, and contrast. That’s what you see in the second image.

The third image is processed using the workflow described below. I just took the stacked .fit file from the Seestar and ran it through GraXpert, Siril, and Topaz. This allowed me to eliminate the noise, remove the stars and process them separately, and bring out details that are present in the original.

Click on an image to see it at full resolution.

This is just a quick example. Processing took about 20 minutes. The point is to show the relative difference between what you get out of the Seestar, what you get from a photo editor, and what you can get with a few minutes of work.

Stacking on the Seestar

For single sessions, the Seestar automatically creates a stacked .fit file. Just use that.

For multiple sessions over several nights, the cheapest and easiest stacking solution is to stack on the Seestar. This works with up to about 2000 frames for sure, but after that it can get iffy. It may do 6 hours of work then crash at the end. But if it works for you, it’s great.

To stack on the Seestar, connect to the device with your PC or Mac and delete (after making a backup copy, of course) everything except the object-name_sub folder containing your subframes. Within that folder, sort by file type/kind and delete all the .jpg files. Just keep the .fit files.

Now use Deep Sky Stacking on the home page of the Seestar to stack your subframes. When done, if your subframes were in object-name_sub, then the result will be in the object-name folder.

Astro Pixel Processor (Stacking)

APP is a paid program (about $60/year or $230 for full license) but does a great job of stacking Seestar mosaics.

  1. Select a working folder.
  2. Import all your subframes as “Lights” on tab 1.
  3. Uncheck the 3 boxes at the top tab 1.
  4. Switch to tab 6 and scroll to the bottom and press the integrate button.
  5. Go get a cup of coffee, play a round of golf, or run a half marathon.
  6. Go through the frame list at the bottom of the screen and de-select all the failed frames.
  7. Go to tab 1 and select the Clean button next to Lights to remove the de-selected frames.
  8. Back to 6 and integrate again.
  9. APP will save the final fit file in the working directory you specified earlier.

GraXpert

  1. Start with the stacked .fit file.
  2. Crop if needed.
  3. Switch to “AI” interpolation method for background extraction. You may have to go to the Advanced tab on the right to download the latest model. Experiment with Smoothing value. I use .8. Then calculate the background.
  4. Set Denoise Strength (experiment with best results; I use .8) and denoise the image.

If you are not going on to Siril:

  • Adjust Stretch and Saturation at the bottom until it looks good. Saturation won’t get saved with the image.
  • Choose “Save Stretched & Processed” and save as a 32-bit Tiff.
  • You can do further brightness, contrast, and saturation adjustments in Lightroom, Photoshop, Acorn, Gimp, or whatever. Do this on the .tif file. Save as Jpeg or PNG.

If you are going to bring the image into Siril:

  • Choose “Save Processed” and save as 32-bit Fits.

Siril

Siril has more options than you can learn in one YouTube video or by reading these steps. Here’s my general workflow as of today.

  • Press the Home button and choose the folder containing your .fit file.
  • Press Open and open the .fit file.
  • At the bottom of the screen, choose “Autostretch” instead of “Linear”.
  • Open the menu in the upper right, choose “Image Information” then “Image Plate Solver”. Choose “OK” to identify the object and flip your image to the “correct” orientation. Close the dialog. (If this doesn’t work, enter the name of the object in your image at the top of the dialog and press the find button to look it up, then press “OK”.)
  • Open the “Image Processing” menu” and choose “Color Calibration”, then “Photometric Color Calibration”. Press “OK” to calibrate colors. (Again, if this doesn’t work, enter the name of the object at the top of the dialog and press the find button to look it up. Then press “OK”.)
  • Open the “Image Processing” menu (top left) and choose “Star Processing” then “StarNet Star Removal…”. Choose the option to pre-stretch and the option to generate a star mask, then “Execute”.
  • After a few seconds you’ll have a starless image.
  • Change from “Autostretch” to “Linear”. Your image will be mostly black.
  • Choose “Image Processing” then “Histogram Transformation”.
  • Repeat the following: Note the position of the histogram. It will be mostly vertical on the left side of the window. Find the triangle that is closest to it on the right and move it left until it almost touches the histogram. It doesn’t have to be super close. If there’s room, move the leftmost triangle to the right until it almost touches the histogram. Press “Apply” then repeat this step as many times as you can.
  • You’ll get to where the left and right triangles are just to the left and right of the histogram curve. You can move them slightly into the histogram as long as the image looks better. Press “Apply” each time you move them. When you’re done, close this dialog and choose “Save”.
  • Apply any of the following that make the image look better:
  • Asinh Transformation
  • Color Saturation
  • Noise Reduction (I find this doesn’t work well)
  • Background Extraction (I find this doesn’t work well)
  • If something you do makes it look worse, or if you want to compare what it was before, use the “Undo” and “Redo” buttons to the left of “Image Processing”.
  • When you’re happy with the starless image, press “Save”.

If you have a tool to do noise removal or further editing, like Topaz Labs’ Photo AI:

  • Save as a 32-bit TIF
  • Load the .tif file into Photo AI or your image editor for further work. Don’t change the size or do any cropping. If you change the size at this point, your stars won’t recompose correctly.
  • When you’re satisfied, save as TIF.
  • Open the TIF in Siril.
  • Save as 32-bit FITS.

Continue in Siril:

  • Choose “Open” and open the file that starts with “starmask”.
  • In “Image Processing”, “Star Processing”, choose the gear icon in the lower right corner to show the “Dynamic PSF” dialog. Select the button with stars that have circles around them to detect the stars in your image. You can leave this dialog open while you do the next couple of steps.
  • In “Image Processing”, “Star Processing”, choose “Desaturate”.
  • In “Image Processing”, “Star Processing”, choose “Full Resynthesis” and apply that.
  • If you dismissed the “Dynamic PSF” dialog (gear icon in “Star Processing”), bring that up again. Select the delete button in the lower right corner to remove the circles around your stars.
  • No need to stretch the stars. Just save the starmask by pressing “Save”.
  • Open “Image Processing” menu, choose “Star Processing”, then “Star Recomposition”. Open your starless image on the left and starmask image on the right. If you edited the starless image outside of Siril, make sure you select the FIT file you created from the TIF you got from your image editor.
  • Stretch the starmask image to about .5 for now — just enough to see the stars — and “Apply”.
  • Select an “interesting” portion of your image by clicking and dragging your mouse to produce a small rectangle. You’ll have to experiment with what to select here. I try to choose a feature I want to emphasize or better separate from the background. After making a selection, press the eyedropper next to “Symmetry point” on the left side of the recomposition window.
  • Adjust “Stretch factor”, “Local stretch intensity”, and “Black point” until you like the image better. If you don’t like it, choose “Reset”. Once you get an image you like, choose “Apply”. Repeat as often as you want until it looks good.
  • Now go to the “Star Stretch” side and adjust “Stretch factor” until your stars look like you want them. You can adjust “Black point” to get rid of smaller stars. Press “Apply” when you get it how you like it. Repeat as often as you want.
  • Close the “Star Recomposition” dialog.
  • Choose the down-arrow button to the right of “Save”. Name the file something you will recognize. I use object name, number of subframes, and exposure time. So for M 31 the name might be “M 31 999x10s star recomposition result”. Choose the file type in the bottom right, and save.

Photo Editor

  • Open the file in your favorite photo editor for final adjustments. Save as JPG 80% or higher (the higher the number, the more accurate the pixel values are to your original).